Originally Posted by Kevin Becka|mixonline.com|5/5/2015
While attention to detail and organization are vital elements in professional session workflow, speed can often make or break a session. In my own work and with the students I teach, I’m always looking for ways to cut time without negatively affecting the quality of the work. For example, in Nashville, where the publishing demo is a common session framework, it’s not uncommon to cut four, five or more songs in a six-hour session.
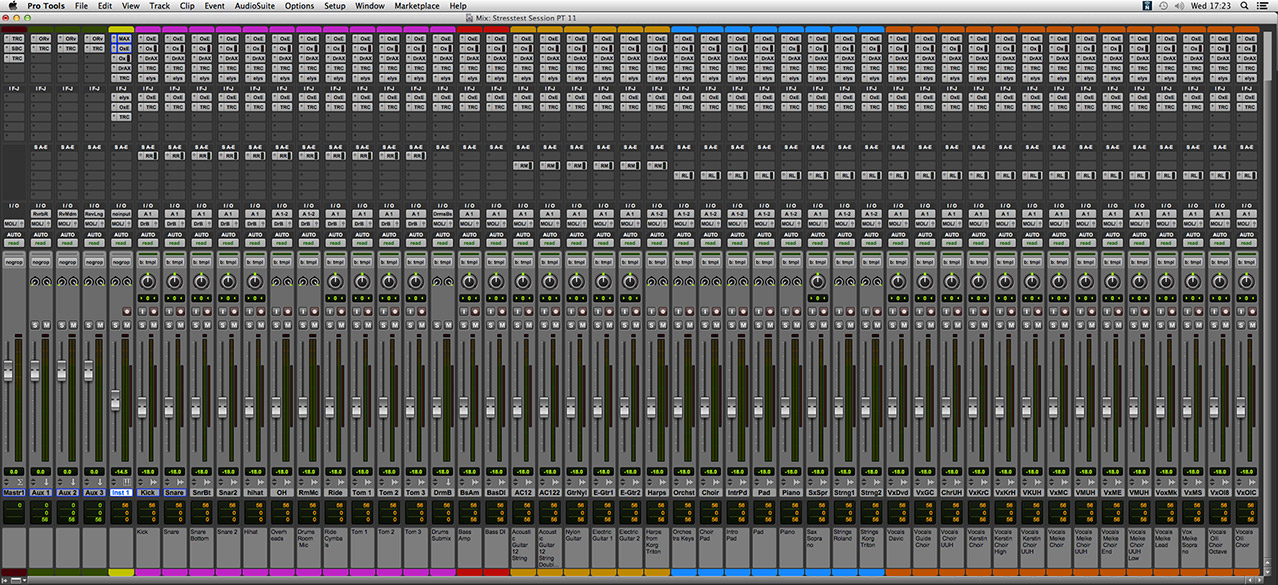
Creating a project template is one great way to jump from song to song quickly during a tracking session; you can be ready to record faster than it takes the band to chart out a new arrangement. The key to a great template is to get the framework right before you name the session and hit Record.
In work here at the school, we use the band folder to house everything. This will pay off later when trying to find specific session dates for a particular client. In this case, being organized = speed later on, so name your folder for the artist and include the date—e.g., Kendrick Lamar yymmdd. This folder is where you store your Pro Tools session template for that artist (KLTemplate), songs cut on that day, rough mixes, and anything else pertinent to a session. Next, based on your session input list, build the template with tracks, cascaded in/outs, track names, group colors, click track, and all the other favorite ways you like to work. One of my favorite tricks here is to increment a playlist on every track in the template so each track is named K.01, Sn.01 etc. This way, each take has its number embedded into the track name making it easy to answer the question, “Which take was that?” without having to look at your playlists (which annoyingly has the wrong number!).
Once the mics have been clicked and inserts checked, you’re ready close the session and store the template on the dock. First, go to the Pro Tools template session file (KLTemplate.ptx), click once to select it, then hold Command + I to bring up the Info window (sorry PC’ers, the rest of this is Mac only). Click the box next to “Stationery Pad,” close the Info window and drag the session file from the folder to the dock, just above the trashcan. This creates an alias that lets you quickly rename the template for each new song without looking in a drive and folder, or clicking through New Session options in Pro Tools. When you’re ready to jump to a song, single-click on the alias in the dock, choose New Session when prompted, name the new session for the song and store it in the topmost tier of band folder. All your tracks, colors, in/outs, and everything else in the template is there in the new session. If you need to make changes to the template, choose Edit Stationery after opening the new session from the alias, make the changes, save it, and you’re ready to open another session with the updated template. The bonus of doing it this way rather than using Pro Tools templates is that it stays with the project and works on any system.
Comping is a time-consuming process that pays off with unique results built from multiple vocal or instrumental takes. Using shortcuts is a great way to substantially cut your comping time and make the process more about the art than the mechanics. To display the playlists on any selected track(s), hold Control + Command + Left arrow. (FYI, further left/right arrow clicks while holding the modifiers will take you through all the other track views.) Once the playlists are open, make a new (empty) playlist called VOC COMP, or whatever it is that you’re comping. Then on the topmost playlist (under VOC COMP), use the cursor to select a phrase to audition and hold Shift + S to solo it. With the VOC COMP un-soloed, you’ll hear the selection in the track; with the VOC COMP soloed, you’ll hear the selection by itself. After you’ve heard the selection, use the semi-colon key to jump the selection to the next playlist and hold Shift + S to move the solo. You can easily jump around to different playlists in this way—using P or semi-colon to move the selection up or down, then Shift + S to solo it. When you find the take you like, use Control + Option + V to move it up to the comp track. Select the next phrase, rinse, lather, repeat and guess what? You’ve only used the mouse to make the initial selection; the rest is ninja-style Pro Tools operation.
The techniques above are just two examples of many workflow speedups you can use to alter the way you operate and build speed when using Pro Tools. My mantra is “step away from the mouse”—that little furry creature can be a time suck.
Developing speed while tracking, overdubbing, editing and mixing is something that will give you more time to spend on the creative side rather than fighting your DAW, and you’ve got to love that!

